Introduction
DPI, or dots per inch, significantly affects the way images appear on your Mac screen. Changing DPI settings on a Mac can enhance your viewing experience, particularly if you’re in graphic design or any field requiring precise visual details. This guide will help you understand why adjusting DPI is important and how to do it effectively.
Altering DPI can have substantial benefits, from improving image clarity to making text more legible. Whether you’re using your Mac for professional projects or everyday tasks, optimizing DPI can make a difference in your computing experience.
Understanding DPI and Display Settings on Mac
Before you change DPI settings, it’s crucial to differentiate between DPI and resolution. Resolution is the total number of pixels displayed on the screen, while DPI defines how many dots are in each inch of an image. Higher DPI means more dots per inch, which can lead to sharper images, making it essential for professions that demand detail.
Your Mac’s default settings are generally optimized for everyday use, but they might not be ideal for everyone. Understanding the distinctions between DPI and resolution helps you know why modifying DPI is useful. This customization allows you to tailor the display to your specific needs, enhancing everything from casual browsing to detailed graphic work.
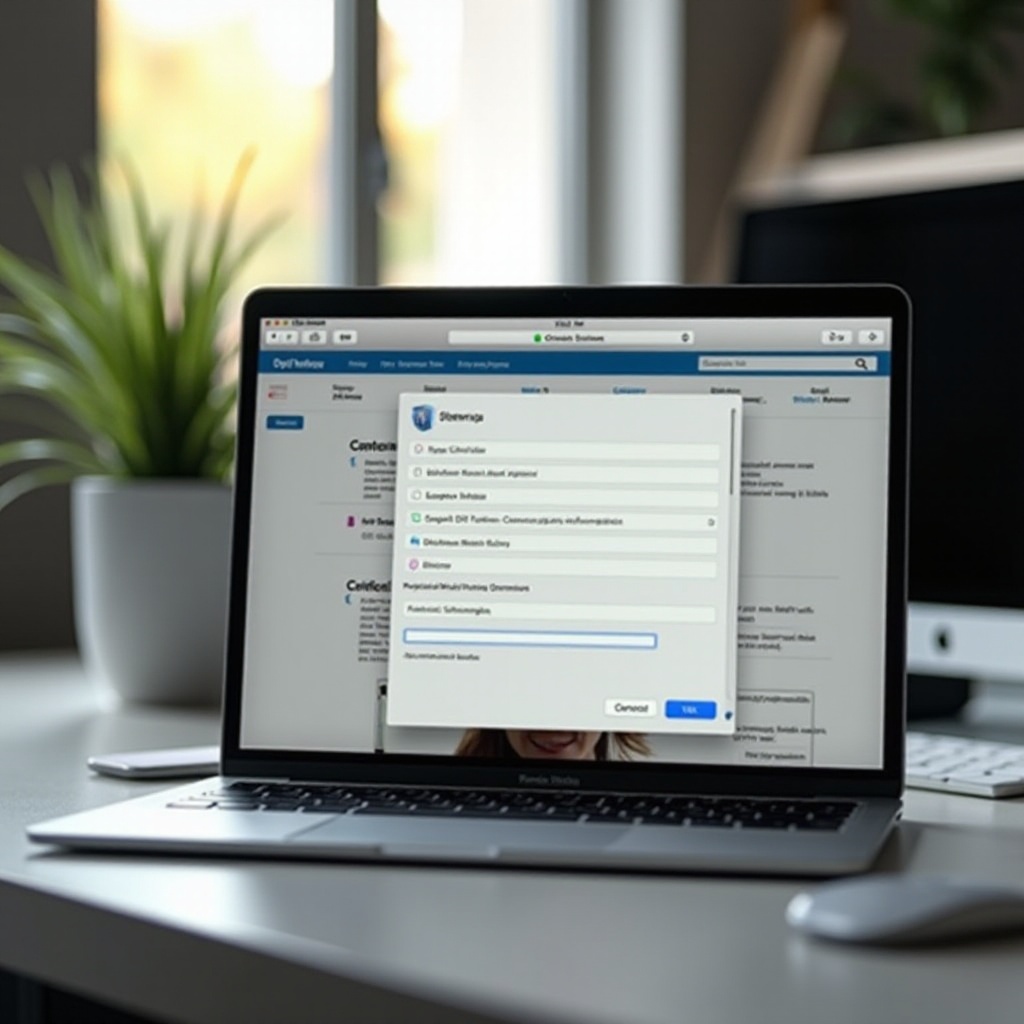
Step-by-Step Guide to Change DPI on Mac
While changing DPI might seem complicated, these steps simplify the process:
- Access System Preferences:
- Click the Apple menu at the top-left of your screen.
-
Select ‘System Preferences’ from the dropdown menu.
-
Navigate to Display Settings:
- In ‘System Preferences,’ click on ‘Displays.
-
Here, you’ll see your current resolution.
-
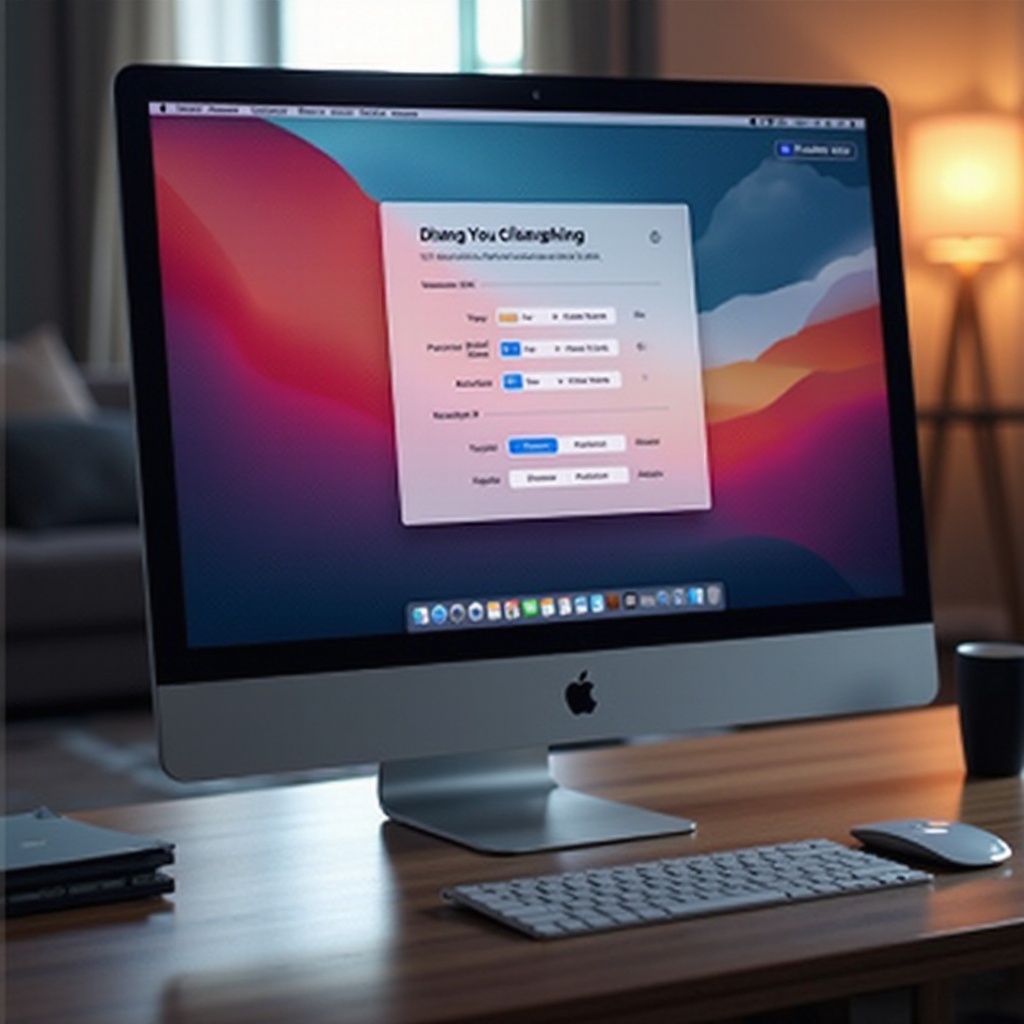
Adjust DPI Manually:
- Choose ‘Scaled’ rather than ‘Default for Display.
- Select a higher resolution from the available options for increased DPI by adding more detail per inch.
Changing the DPI on your Mac changes how content is displayed, giving you control over the clarity of images and the size of text. Let’s move on to more specific adjustments for those with Retina displays.
Using Retina Display Features
For Macs with Retina displays, there are options that further enhance visual quality. Retina displays boast a higher pixel density, and you can harness this for DPI settings adjustments.
- To Utilize Retina Features:
- Normally, ‘Default for Display’ optimizes DPI on Retina Macs.
- For more screen space or sharp detail, try selecting a scaled resolution labeled ‘Larger Text’ or ‘More Space.
By leveraging these built-in features, you can achieve a crisp, vibrant display tailored to your professional or personal needs.
Using Third-Party Applications
If built-in Mac settings aren’t sufficient, third-party applications offer more detailed control over DPI adjustments.
- Recommended Apps:
- ‘SwitchResX’ for advanced control over resolution.
-
‘Display Menu’ for quick resolution changes without navigating System Preferences.
-
Pros and Cons:
- Pros include precise DPI adjustment and more resolutions.
- Cons may involve compatibility challenges with future macOS updates.
These applications are perfect for users in need of specific settings beyond the native Mac capabilities.
Benefits of Adjusting DPI
Why should you bother with DPI changes at all? Here are some notable advantages:
- Improved Visual Sharpness: Higher DPI makes images crisper and text easier to read.
- Comfort for the Eyes: Larger elements help reduce eyestrain during prolonged use.
- Professional Precision: Essential for tasks like graphic design that demand attention to detail.
Realizing these benefits can guide your decision on whether it’s worthwhile to adjust DPI for a better Mac experience.
Troubleshooting Common Issues
After adjusting the DPI, you might face minor problems. Here’s how to handle them:
- Common Problems and Solutions:
- Restart your Mac to ensure changes take effect.
- If display glitches occur, revert to ‘Default for Display.
Display Not Supported Warnings
In some instances, a ‘Display Not Supported’ warning pops up.
- Handling Unsupported Displays:
- Confirm the monitor supports the selected resolution.
- If not, choose a different resolution compatible with your hardware.
By troubleshooting efficient methods, you can address potential snags in DPI setting adjustments.
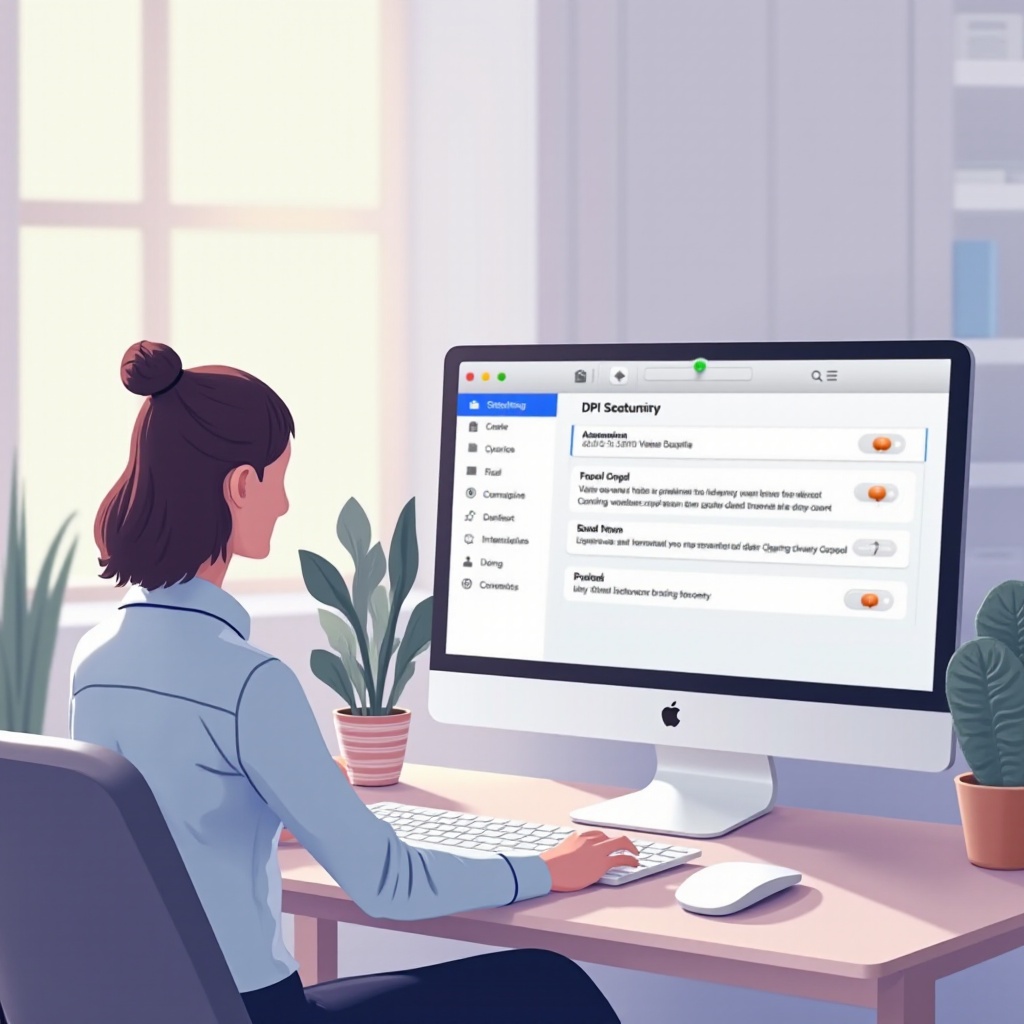
Additional Tips for Optimal Display Settings
To get the most from your display, consider these additional tips:
- Color Calibration:
-
Available through ‘Displays’ preferences, this option enhances color accuracy.
-
Night Shift and Accessibility Functions:
- Activate Night Shift to lower blue light and reduce eye fatigue.
These additional strategies ensure your Mac’s display settings are not only precise but also conducive to your comfort.
Conclusion
You now have the tools to transform your Mac experience by adjusting DPI. From clearer images to less eyestrain, slight modifications can yield significant improvements. Keep adjusting settings until you find exactly what works for you.
Frequently Asked Questions
What is the recommended DPI setting for graphic design on a Mac?
The recommended DPI depends on personal preference, but generally, a higher DPI provides crisper details essential for graphic design work.
Will changing DPI affect my Mac’s performance?
Adjusting DPI primarily impacts visual display but not overall performance. Large changes can affect graphics rendering on older hardware.
Can I change DPI settings on external monitors connected to my Mac?
Yes, DPI settings for external monitors can be adjusted through System Preferences > Displays, ensuring each monitor is customized for your needs.