Introduction
The motherboard is the essential component that ensures the smooth functioning of your computer by connecting all critical parts, including the CPU and memory. When issues arise, addressing them promptly becomes crucial to getting your system back online. This guide thoroughly explores motherboard repair techniques to empower both tech enthusiasts and professionals.
Diagnosing Motherboard Problems
Proper diagnosis is the foundation of any successful repair. Identifying that the motherboard is the problem is your first task.
- Common Symptoms of a Faulty Motherboard
- Your computer fails to turn on.
- It experiences random shutdowns or reboots.
-
The monitor displays nothing even though components like fans run.
-
Tools Required for Diagnosis
- A multimeter is essential for checking electrical flow.
- Have a diagnostic card handy for error code readings.
- Equip yourself with a basic toolkit, including screwdrivers and tweezers.
After diagnosis, you are ready to proceed with preparing for the repair process, ensuring all safety measures and necessary tools are at your disposal.
Preparing for Repair
Preparation is key to an effective repair job. Ensure you take the necessary precautions and gather all the tools ahead of time.
- Safety Precautions
- Disconnect the computer from power sources.
-
Wear an antistatic wrist strap to prevent electrostatic discharge.
-
Gathering Necessary Tools and Materials
- Soldering gear for component fixes.
- Thermal paste for maintaining CPU temperatures.
- A soft brush to keep dust from accumulating on components.
With your preparations complete, you’re ready to start repairing the motherboard, addressing each part methodically.
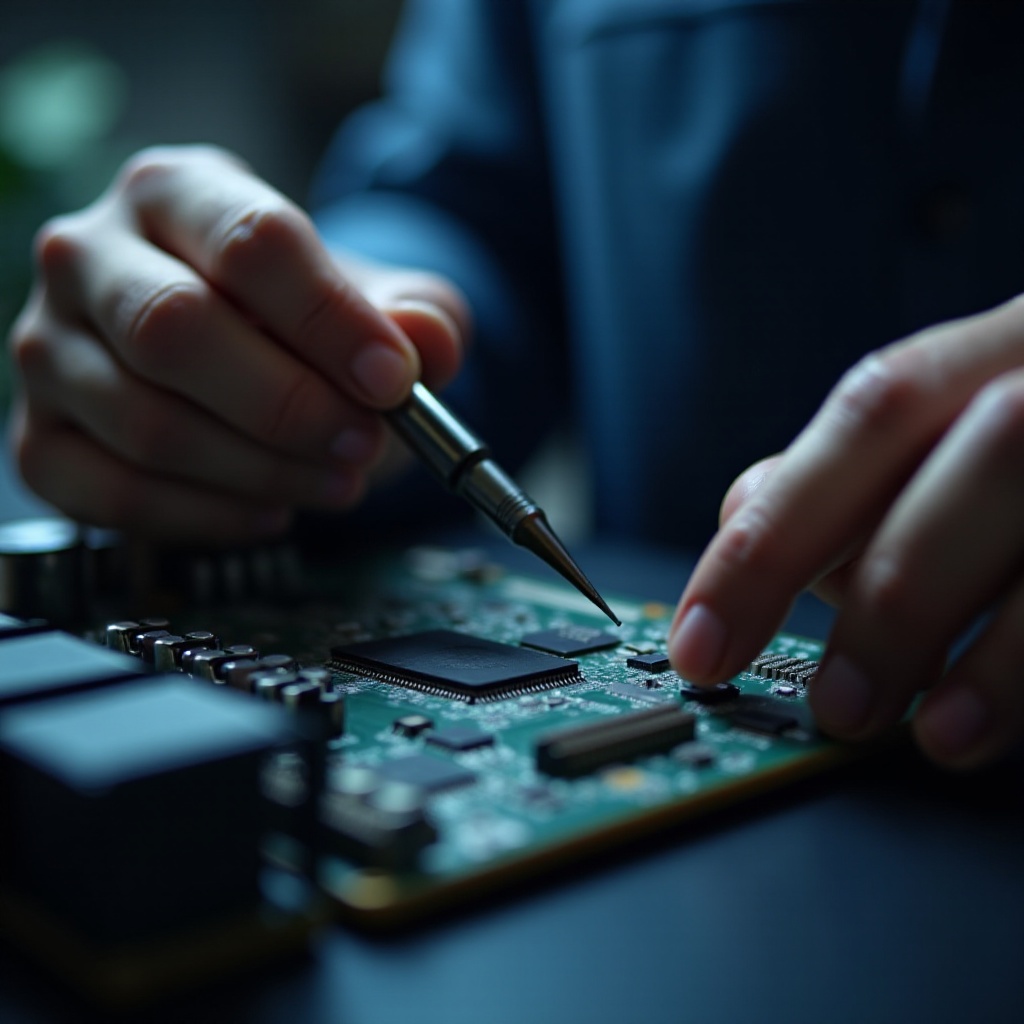
Step-by-Step Repair Process
A careful and detailed approach to repairs helps mitigate further issues and ensures favorable outcomes.
- Cleaning the Motherboard
- Use a soft brush and compressed air to remove dust and debris.
-
Be gentle with sensitive parts and connectors.
-
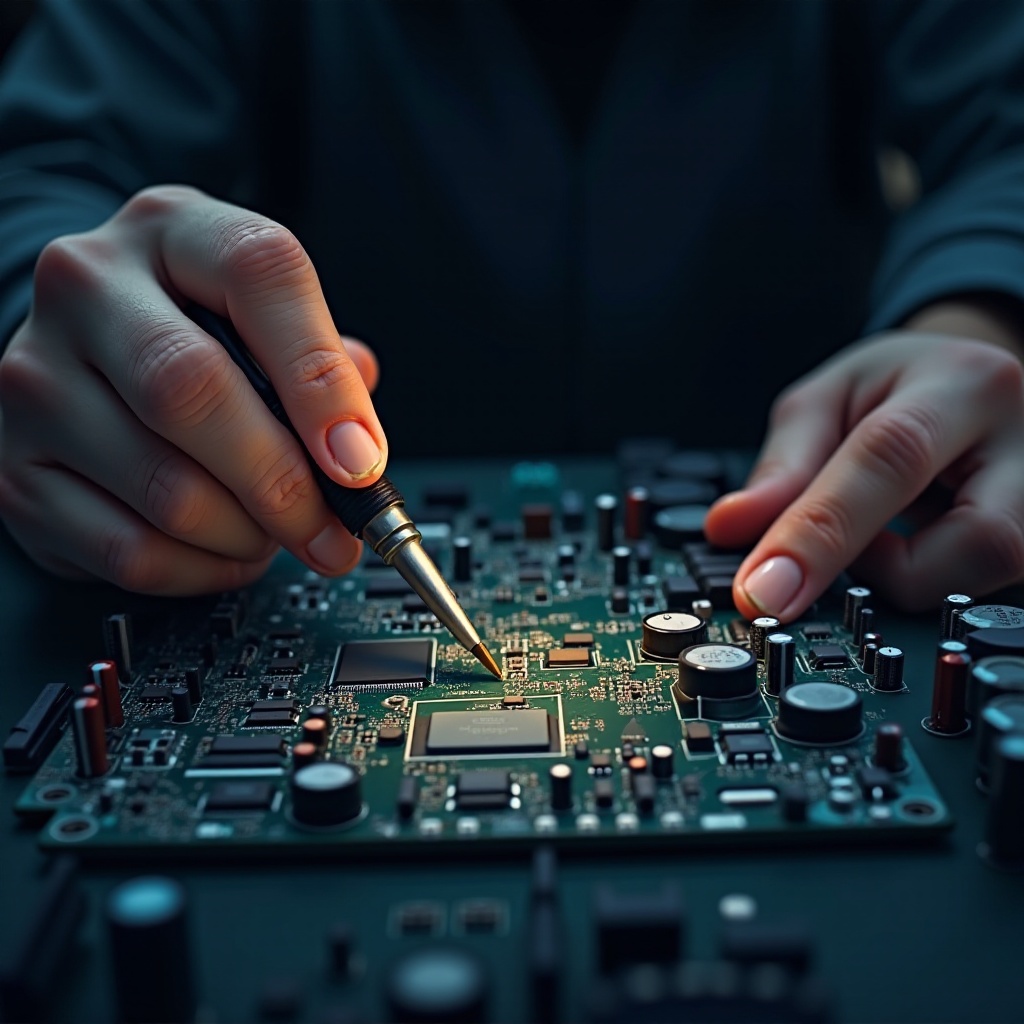
Checking and Replacing Capacitors
- Look for any capacitors that are bulging or leaking.
-
Replace faulty capacitors by desoldering and soldering new ones, taking care of the correct polarization.
-
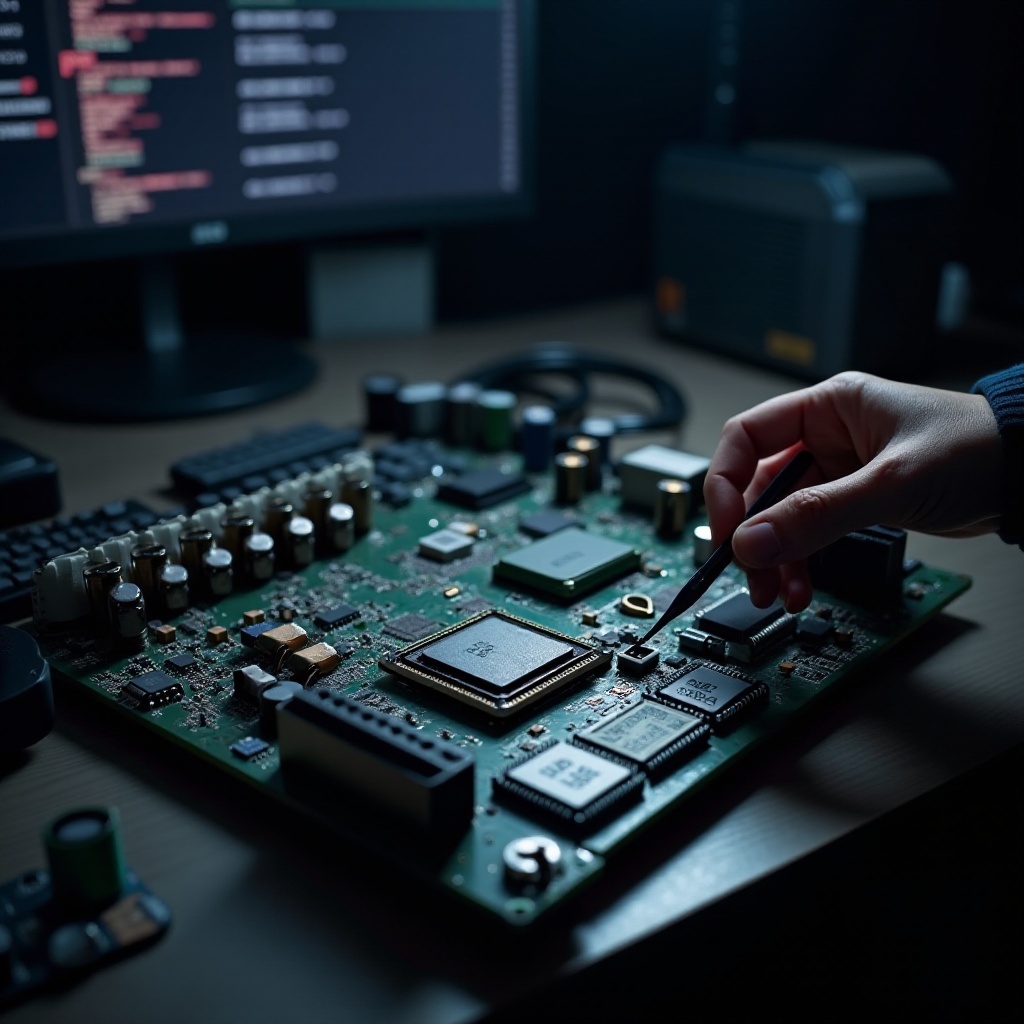
Repairing Damaged Traces
- Inspect your board for any broken or burnt connections.
- Utilize a conductive pen or wire to mend gaps, restoring essential connections.
Once you address these repairs, it’s important to ensure that everything is reassembled correctly to test the success of the repairs.
Testing and Reassembling the Computer
Efficient reassembly and testing ensure that repairs are successful and that your motherboard functions correctly.
- Reinstalling the Motherboard
- Carefully fit the motherboard back into its case.
-
Reconnect all components and ensure they are securely seated.
-
Ensuring Proper Connections
- Double-check power connections to the motherboard.
- Verify that all peripheral connections such as USB and audio ports are in place.
After reassembly, begin testing your system. If it doesn’t function as expected, consider other solutions or professionals.
Alternative Solutions and When to Seek Professional Help
When repairs don’t work, weighing the alternatives and considering professional help could save time and money.
- Evaluating Cost vs. Replacement
- Determine whether the cost of repair exceeds the price of a new motherboard.
-
Consider the benefits of new features with a replacement board.
-
Finding Reliable Repair Services
- Look for reputable services with positive reviews.
- Ensure that any service you choose offers repair warranties for peace of mind.
Understanding when to stop DIY attempts and consult experts can often save frustration and resources.
Conclusion
Repairing your motherboard requires precision and patience. Following these detailed steps not only improves your skillset but also enhances your understanding of computer hardware. By ensuring a methodical approach, you give yourself the best chance at a successful repair without needing costly replacements.
Frequently Asked Questions
What should I do if the motherboard still doesn’t work after repair?
If your motherboard remains faulty after repairs, double-check all connections and components. Professional diagnostics might uncover hidden issues needing expert attention.
How can I prevent motherboard issues in the future?
Regular cleaning, maintaining cooling systems, and using surge protectors can extend your motherboard’s lifespan and performance.
Is it worth repairing an old motherboard compared to buying a new one?
Consider repair if the motherboard is relatively new or high-end. Otherwise, investing in a new one might offer enhanced features and better long-term performance.